
Last updated November 16, 2026
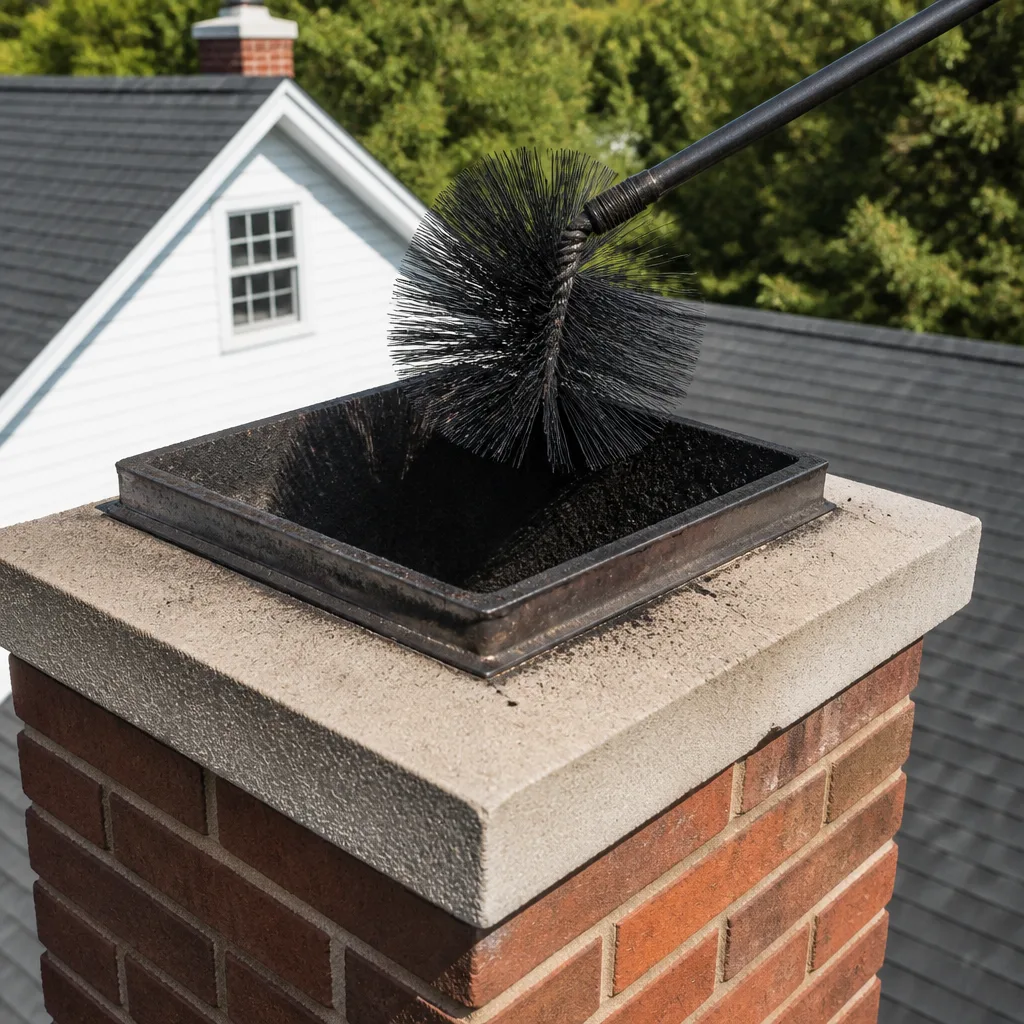 Sweep & inspection
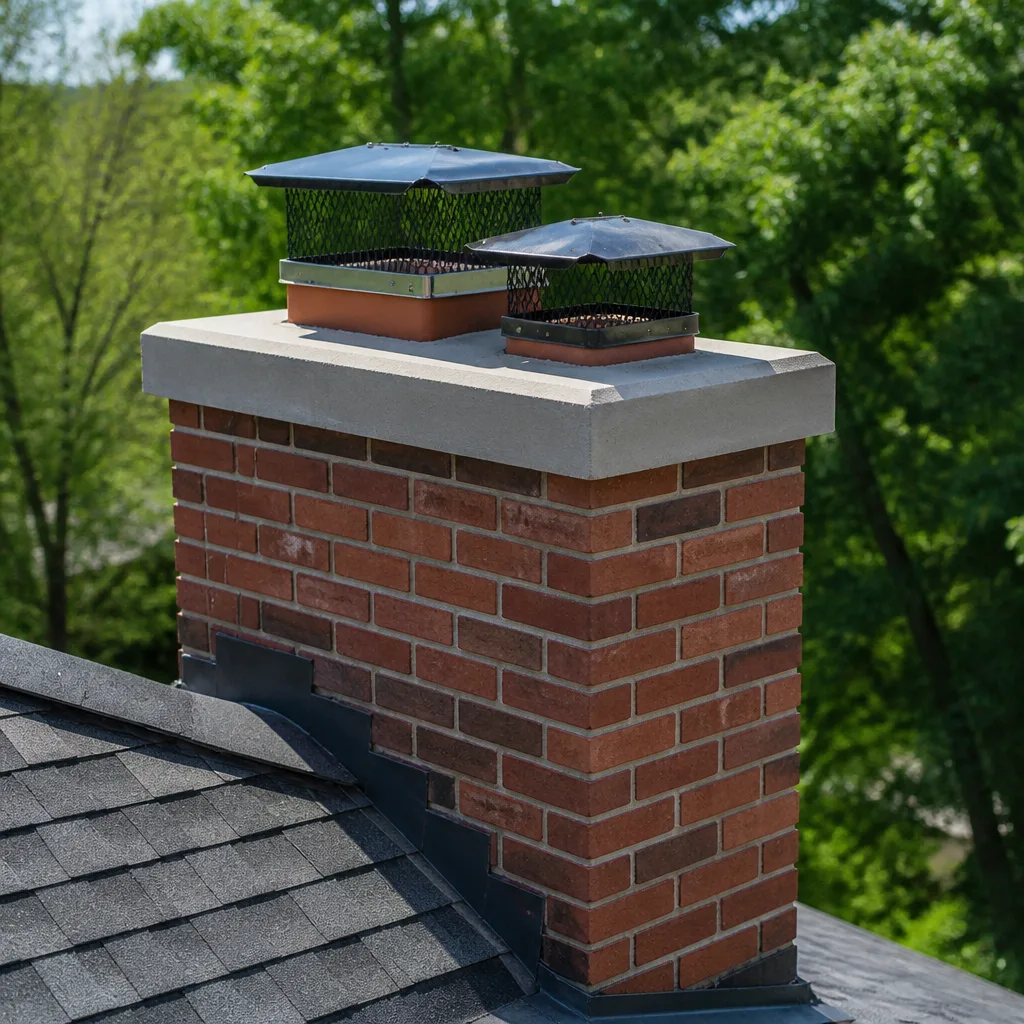 Caps & crowns
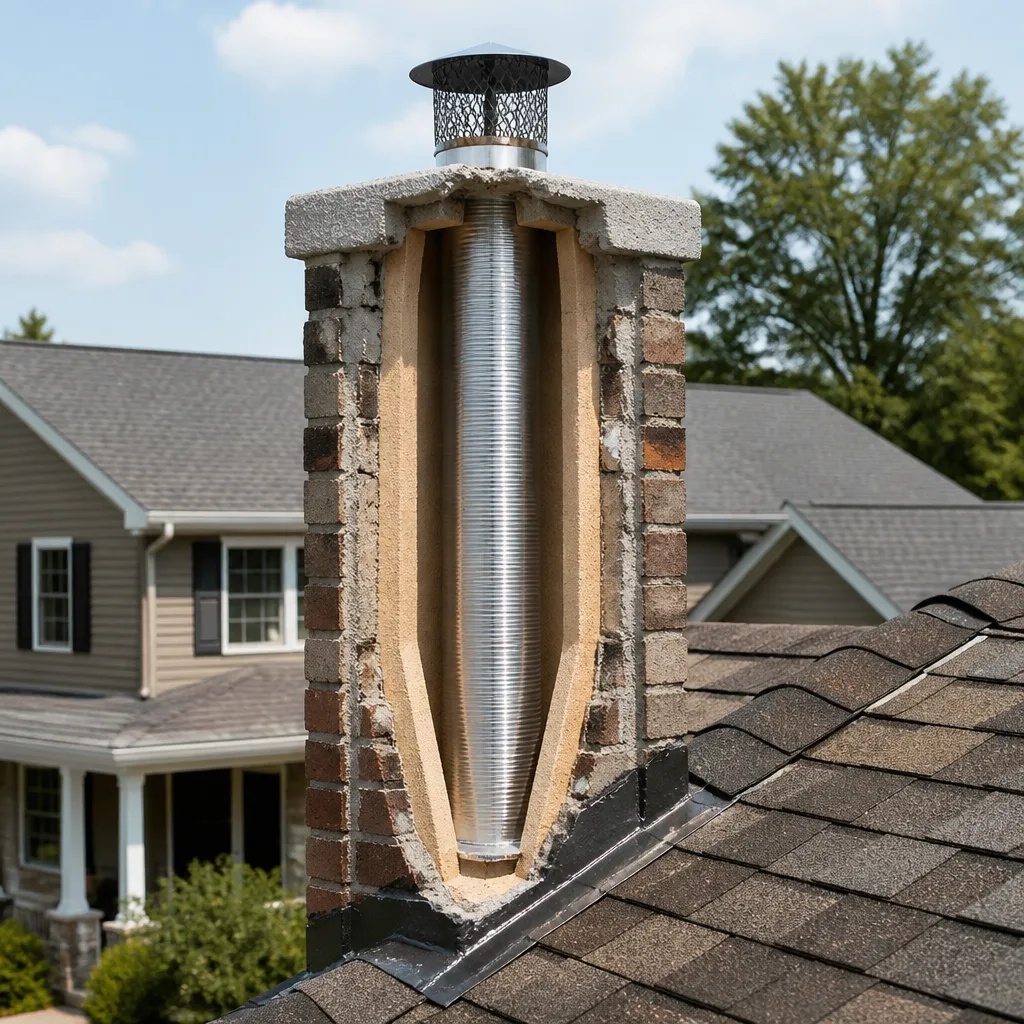 Flue relining
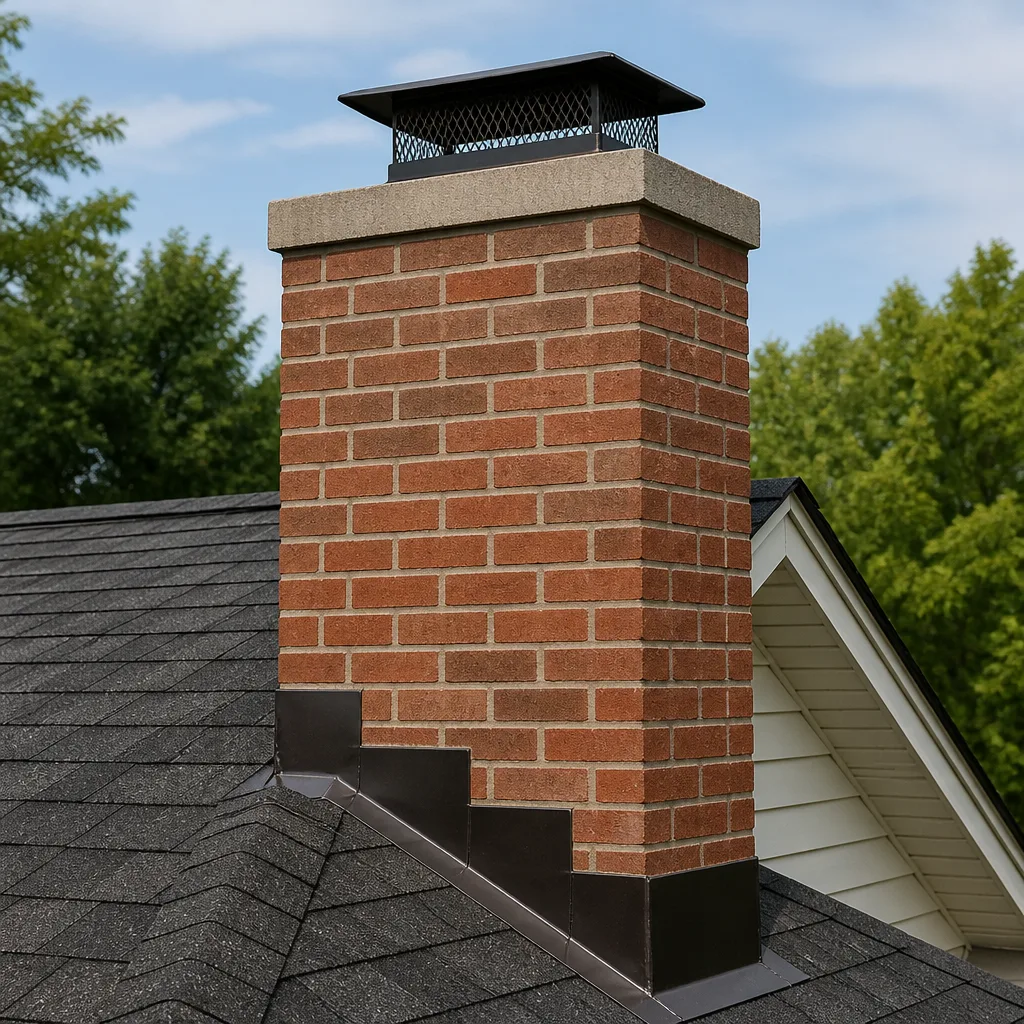 Masonry repair
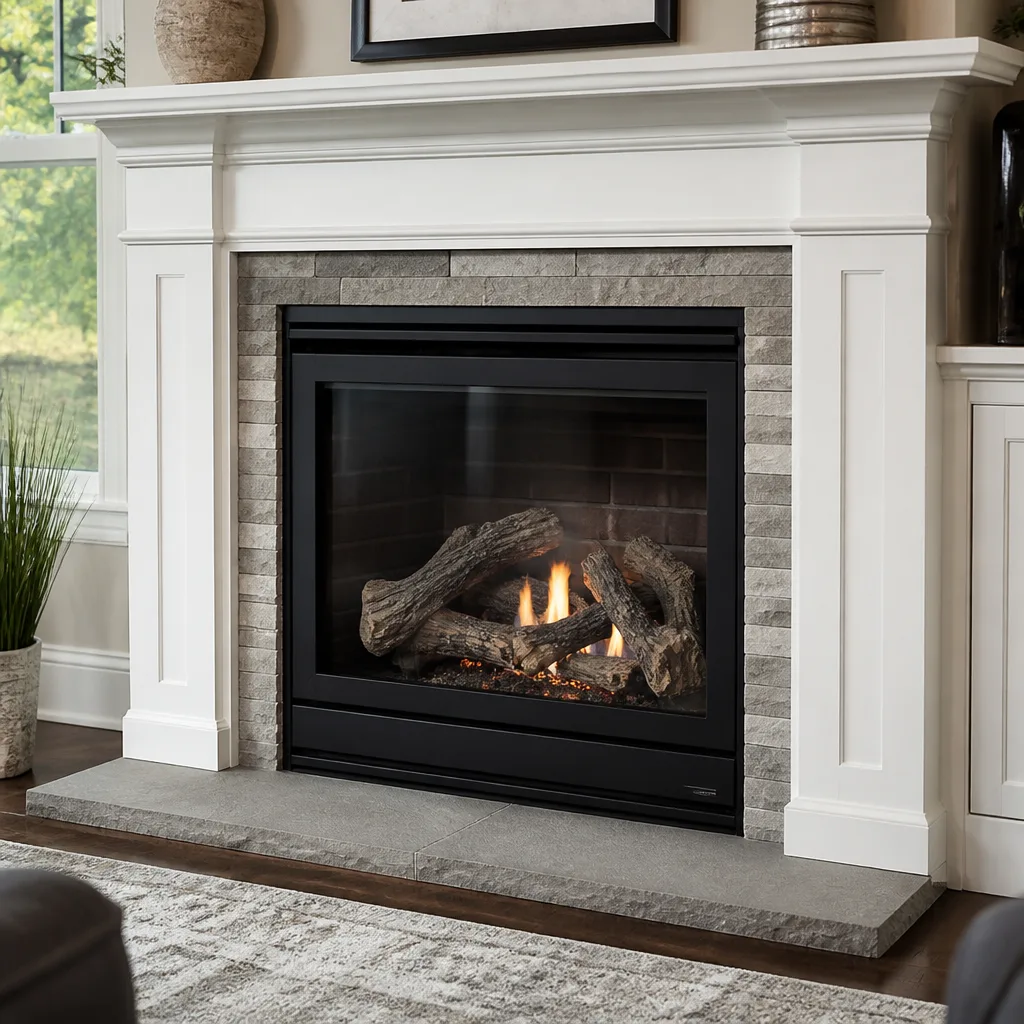 Gas fireplace service
Level 1 sweep and inspection to the NFPA 211 annual standard - flue, crown, cap, and flashing checked and photographed
Chimney sweep logs do not sweep chimneys. They loosen some creosote - which then falls where a brush and vacuum still have to collect it.
Chimney Sweep Maintenance Checklist for Providence Homeowners
Most chimney maintenance advice treats every house the same. Brush the flue, check the cap, call it done. That approach misses the failure points that actually show up in Providence homes, where a mix of older masonry chimneys, gas insert retrofits and oil-fired equipment creates problems you won’t find on a generic checklist. Two issues come up more than any other in this city: a deteriorating smoke chamber that nobody looked at, and a damaged damper that stopped sealing years ago. Both are visible to a homeowner who knows where to look. This guide separates what you can safely check yourself from what needs a certified technician, covers the creosote stages that determine whether a sweep’s recommendation is urgent or routine, and gives you a seasonal timeline built around Providence’s shoulder-season temperature swings.
Quick Answer
A homeowner’s chimney maintenance checklist for Providence should cover three things: visual checks you can do safely from the firebox, the exterior crown and the ground-level roofline; a professional sweep and inspection before each heating season; and documentation of any cracks, staining or creosote buildup before your technician arrives. Anything involving the flue interior, the smoke chamber or the damper mechanism above the firebox needs a certified technician, not a homeowner with a flashlight and a ladder.
Styles & brands we work with
- Sweep & inspection
- Caps & crowns
- Flue relining
- Masonry repair
- Gas fireplace service
Table of Contents
- What You Can Safely Check Yourself
- The Three Stages of Creosote and What They Mean for Urgency
- A Providence Seasonal Timeline for Chimney Maintenance
- What to Document Before a Professional Visit
- Chimney Conditions That Affect Rhode Island Insurance Coverage
- What a Professional Sweep and Inspection Actually Covers
- Common Mistakes to Avoid
- When to Call a Professional
What You Can Safely Check Yourself
A homeowner with a flashlight and no ladder can catch most early-stage chimney problems. The checks below are safe, they take about fifteen minutes, and they give your technician better information when a sweep is booked. Your chimney is a venting system first, a fireplace second. Look at it that way and the checks make sense.
Inside the firebox
Open the damper and look up. You’re checking for three things: visible creosote on the firebox walls, cracked or missing mortar joints between the firebricks, and rust or white staining on the metal damper frame. Rust on the frame usually means water is getting in from above. White staining on masonry often points to moisture moving through the brick.
The exterior crown (from the ground, with binoculars)
The crown is the concrete cap on top of the chimney. From the ground you can see whether it has visible cracks, whether it’s pulling away from the flue tile, or whether the flue tile itself is chipped or missing a section. A cracked crown is the single most common entry point for water in Providence chimneys. You don’t need to climb anything to spot it.
The roofline
Look at where the chimney meets the roof. You’re checking for missing flashing, gaps in the sealant, or staining on the roof deck below the chimney. Any of those suggest water has been getting in. From the ground, with a pair of binoculars, you can usually see the flashing line clearly enough to know whether it’s intact.
What you should not do
Don’t climb onto the roof to inspect the crown or flue tile up close. Don’t reach up into the flue with a brush or a mirror-and-light rig. Don’t try to remove creosote yourself. The flue interior is a confined space, and the smoke chamber above the damper has a sloped shape that hides problems a flashlight from below won’t reveal. Those jobs belong to a trained technician.
The Three Stages of Creosote and What They Mean for Urgency
Creosote is the residue left behind when wood smoke cools inside the flue. It builds up in three recognizable stages, and the stage determines whether your sweep’s recommendation is “come back next year” or “this needs to be addressed before you burn again.” Knowing the stages lets you have an informed conversation instead of taking a recommendation on faith.
Stage 1: Sooty, flaky dust
Stage 1 creosote looks like black soot or a light flaky crust. It brushes off easily with a standard chimney brush. This is what a properly burning fire produces in a healthy flue. If your sweep reports Stage 1 only, the recommendation to sweep again next year is routine, not urgent. There’s no safety concern at this stage, and no need for chemical treatment.
Stage 2: Hard, shiny, crusted deposits
Stage 2 is where the conversation changes. Creosote at this stage has hardened into a shiny, brittle crust that adheres to the flue walls. It doesn’t brush off with standard tools. It needs mechanical removal with specialized rotary equipment or chemical treatment to break it down. Stage 2 buildup narrows the flue, which reduces draft, which produces more creosote. It’s a cycle. If your sweep reports Stage 2, they’re telling you there’s a real problem, and the fix is not “wait and see.”
Stage 3: Glazed, tar-like coating
Stage 3 creosote is a dense, glazed, tar-like coating baked onto the flue walls. It’s the most combustible form, and it’s very hard to remove. At this stage, a flue fire has a real fuel load to work with. In Providence homes with older masonry chimneys, Stage 3 is the reason we sometimes recommend relining with a DuraFlex system rather than attempting to scrape the flue clean. When the flue tile itself is compromised by prolonged Stage 3 exposure, resurfacing with HeatShield is often the alternative to full replacement.
Why burning habits matter
Seasoned wood, hot fires, and an open damper during the burn all reduce creosote. Unseasoned wood, smoldering fires, and a partly closed damper all accelerate it. If your sweep reports Stage 2 or Stage 3, the burning habits deserve a look alongside the flue itself. You’ll get more out of a swept flue if the next fire is a hot one with dry wood.
A Providence Seasonal Timeline for Chimney Maintenance
Providence’s shoulder seasons are the wild card. Spring and fall here swing between warm days and cold nights, sometimes within the same week. Those swings matter to your chimney because they cause condensation inside the flue. A flue that’s cold overnight and then warms up during the day pulls moisture out of the air and deposits it on the liner walls. Over a season, that moisture combines with creosote and mortar dust to form an acidic paste that eats masonry from the inside.
The timeline below is built around that reality.
- Late summer (August to early September): Book your sweep and inspection before the first fire. This is the correct window for a sweep because it leaves time for any recommended repair before the heating season. A sweep in October leaves no margin for liner work if the inspection turns something up.
- Early fall (September to October): Test your smoke and carbon monoxide detectors, check the damper for smooth operation, and confirm the cap is in place. This is also the window for any recommended relining or resurfacing recommended during the summer inspection.
- First cold snap (October to November): Do your first fire with a small load of dry wood and check the draft. If smoke rolls into the room, if the fire struggles to catch, or if you smell smoke, stop burning and call for a sweep.
- Winter (December to February): Do the visual firebox check weekly. After each burn, look for shiny or crusty deposits on the firebox walls. Stage 2 creosote accumulates faster in cold weather because colder flues cool smoke faster.
- Late winter shoulder season (February to March): This is Providence’s hardest month on the flue. Temperature swings drive condensation. Look for white staining on the brick, rust on the damper frame, or staining on the ceiling near the chimney. Any of those mean water has been getting in.
- Spring (April to May): Book a second inspection if you burned heavily through the winter. This is also the window for exterior repair, crown work, or cap replacement, when the weather cooperates with the work.
- Off-season (June to July): Ash removal, exterior checks, and pre-season scheduling. Getting on a sweep’s calendar now means the late-summer slot is yours.
If you use your fireplace more heavily than a few times a week through the winter, compress this timeline. If it’s a backup heat source used a handful of times a year, you can extend it a bit, but the late-summer sweep doesn’t move. That’s the anchor.
What to Document Before a Professional Visit
Photographs taken before a technician arrives do two things. They make the inspection more accurate, because the technician can see what changed between your last check and now. And they give you a reference point when a repair is recommended, so you can compare what you photographed to what the report describes. A sweep report is a document; a sweep report backed by your own photos is a record.
Before a scheduled visit, document the following:
- Firebox interior. Photograph the back wall, the side walls, and the floor of the firebox with the flashlight aimed at each surface. Get one wide shot and one close-up of any crack, gap or staining.
- Damper in both positions. Photograph the damper fully open and fully closed. This shows the technician the current range of motion and any visible damage to the frame.
- Exterior crown from the ground. Zoom in with your phone camera or use binoculars and photograph the crown from below. You’re looking for cracks, missing chunks, or a flue tile that’s pulling away.
- Roofline and flashing. Photograph where the chimney meets the roof from the ground. Note any staining on the roof deck or siding below the chimney.
- Staining on the ceiling or chimney breast. Photograph any water staining on the interior ceiling, walls or chimney breast. Note approximate dates you first noticed each stain.
- Burn log. Write down roughly how often you burned, what kind of wood you used, and whether you noticed any smoke come into the room during a burn. This is more useful than you’d think.
Also write down what kind of appliance the chimney serves: a wood-burning fireplace, a gas insert, or an oil-fired heating system. Each has a different maintenance profile and a different inspection protocol. A technician arriving with that information in hand will produce a more targeted report than one who has to figure it out on the spot.
Chimney Conditions That Affect Rhode Island Insurance Coverage
Most homeowner insurance policies in Rhode Island include reasonable maintenance expectations. A fire or water damage claim that traces back to a chimney condition the homeowner should have caught, and didn’t address, can complicate the claim. Policies vary widely and we can’t speak to any individual policy. What we can say is that certain chimney conditions are the ones claim adjusters look at most closely, and those conditions are worth catching early.
- Cracked or missing flue tiles. A gap in the flue tile lets heat and combustion gases reach the surrounding masonry and framing. This is the condition most often cited in chimney-related fire investigations, and it’s visible on inspection long before it’s visible from the firebox.
- Missing or damaged chimney cap. A missing cap lets water, animals and debris into the flue. Water damage from a missing cap is one of the most common reasons a chimney claim gets denied or reduced.
- Cracked crown or failed flashing. Both are water entry points that lead to interior damage. The interior damage is what typically gets claimed, and the crown or flashing problem is what the adjuster finds when they look.
- Stage 2 or Stage 3 creosote. A flue fire is a foreseeable event when heavy creosote is present and the homeowner was warned. Documenting a sweep and addressing the creosote is the protection.
- A disconnected or damaged liner. This is a venting failure, not just a performance issue. It’s the condition most likely to be treated as a maintenance failure in a claim.
The protection in all of these cases is documentation. A sweep report from before the damage occurred shows the condition was known and being managed. A sweep report that doesn’t exist shows the opposite. That’s one of the reasons we treat inspection as a standalone professional service, not a sales funnel: the report has value even when no repair is recommended.
What a Professional Sweep and Inspection Actually Covers
A proper chimney sweep and inspection is not just brushing the flue. Here’s what happens during a professional visit, and where a homeowner should expect the technician to spend time.
- Firebox and damper. The technician inspects the firebox for cracks and the damper for operation. The damper is one of the two most commonly missed issues in Providence homes, because its mechanism is buried above the firebox and easy to skip.
- Smoke chamber. The sloped chamber between the damper and the flue is the other commonly missed issue. Its sloped surfaces are hard to see from below and easy to skip in a rushed inspection. A camera inspection is what catches a deteriorating smoke chamber, which is why we recommend insisting on one.
- Flue interior. The technician sweeps the flue with the appropriate brush for the flue type, then inspects the tile liner for cracks, gaps and missing sections. The sweep report should include the creosote stage observed.
- Chimney exterior. Crown, flue tile, cap, and flashing. This is the water-entry check.
- Appliance connection. The connection between the appliance and the flue. This is a common venting failure point, especially on gas inserts and oil-fired systems that have been retrofitted into older masonry chimneys.
A word on the smoke chamber and damper: these two issues are why we recommend a camera inspection on any Providence chimney that hasn’t been inspected in a few years. A visual check from the firebox won’t reveal a cracked smoke chamber wall, and won’t show whether the damper is sealing or just moving. A camera sees both.
When a repair is recommended, we specify the right product for the flue rather than whatever’s on the shelf. That means contractor-grade materials from brands professionals trust: HeatShield for resurfacing a compromised flue, DuraFlex for relining, and Gelco or Olympia Chimney for caps and venting components. Nothing is recommended without camera evidence you can see for yourself, and we’ll say plainly when work can safely wait.
Common Mistakes to Avoid
- Waiting until the first cold snap to book a sweep. By then every sweep in Providence is booked, and if the inspection turns up a problem, there’s no time to fix it before you want to burn. Late summer is the window.
- Assuming a gas insert doesn’t need maintenance. A gas insert vents combustion gases just like a wood fireplace, and its venting system can fail or become blocked. The venting check is part of the inspection regardless of what’s burning.
- Skipping the smoke chamber and damper. These are the two most commonly missed issues in Providence homes. If your last inspection didn’t mention them, ask why.
- Climbing onto the roof to “save” the inspection. Roof access is the leading cause of homeowner injury during chimney maintenance. Inspect from the ground with binoculars and let a trained technician handle the roof.
- Burning unseasoned wood to stretch the woodpile. Unseasoned wood produces more creosote at every stage, which shortens the interval between sweeps and accelerates any existing buildup toward Stage 2.
- Reading a Stage 2 or Stage 3 report as an upsell. If a sweep reports hardened or glazed creosote, the recommendation is based on a real fuel load inside the flue. Ask to see the camera footage if you’re not sure.
- Ignoring white staining on exterior brick. White staining means water is moving through the masonry. It’s the earliest visible sign of a crown or flashing problem in Providence, and it’s the cheapest problem to fix at that stage.
When to Call a Professional
Call a professional if you see any of the following: smoke enters the room when you open the damper or light a fire; you smell smoke in the house after a burn; the damper doesn’t open or close smoothly; you see cracked or missing flue tile from the ground; there’s water staining on the ceiling, walls or chimney breast; you see white staining on exterior brick or rust on the damper frame; or it’s been more than a year since the last sweep. Call before the first fire of the season, not after. If you’re unsure whether a condition is urgent, a chimney sweep with a camera inspection will answer the question without guesswork.
Providence Chimney Cleaning offers free estimates in Providence. Call (833) 315-2861. We answer 24/7. Fast dispatch from 7am to 7pm, Sunday through Friday.
See the difference
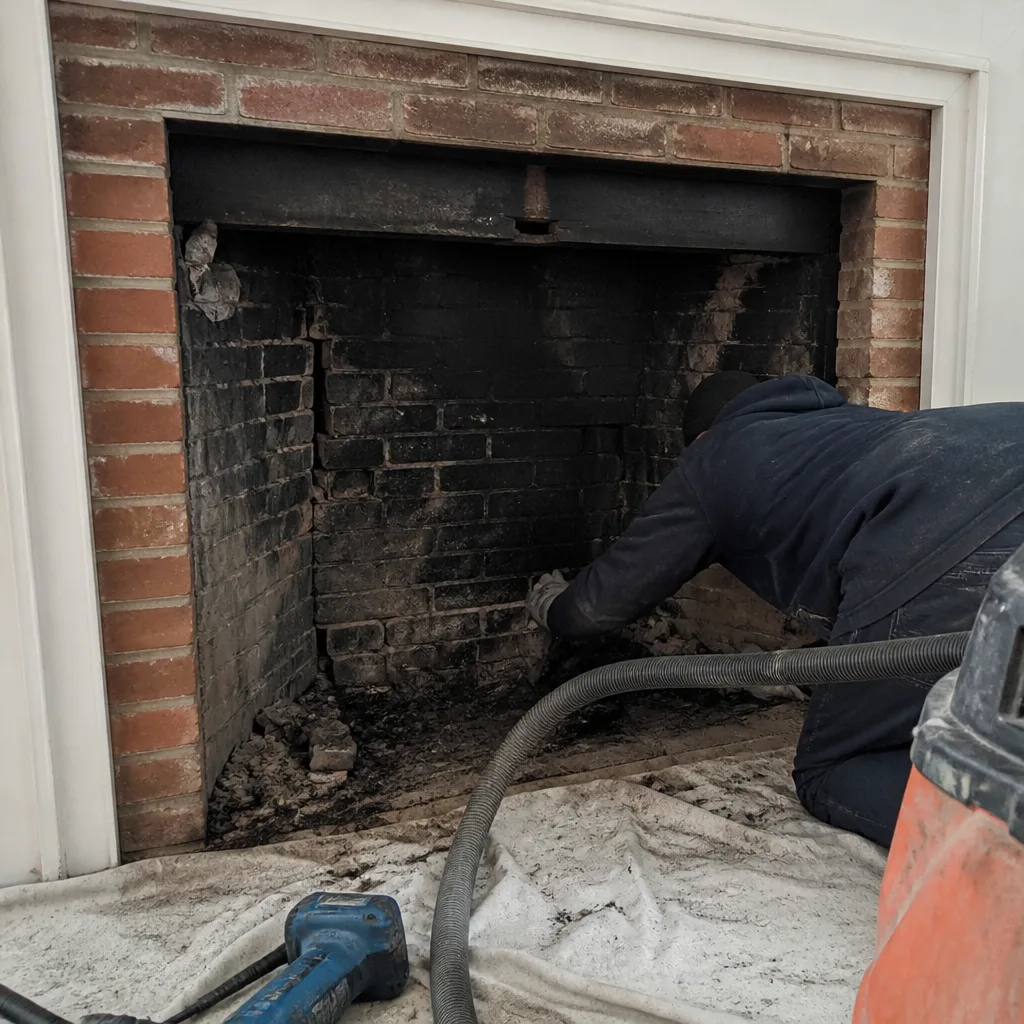 Before
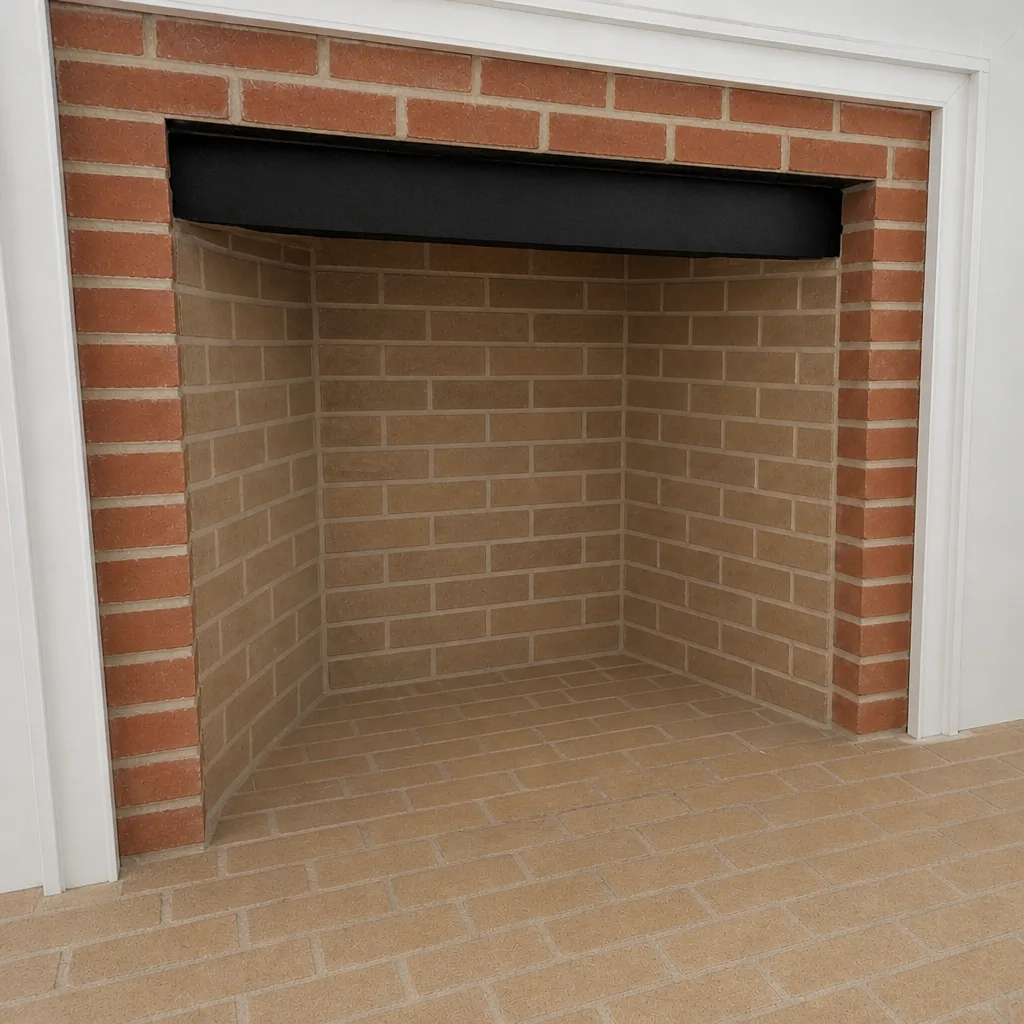 After
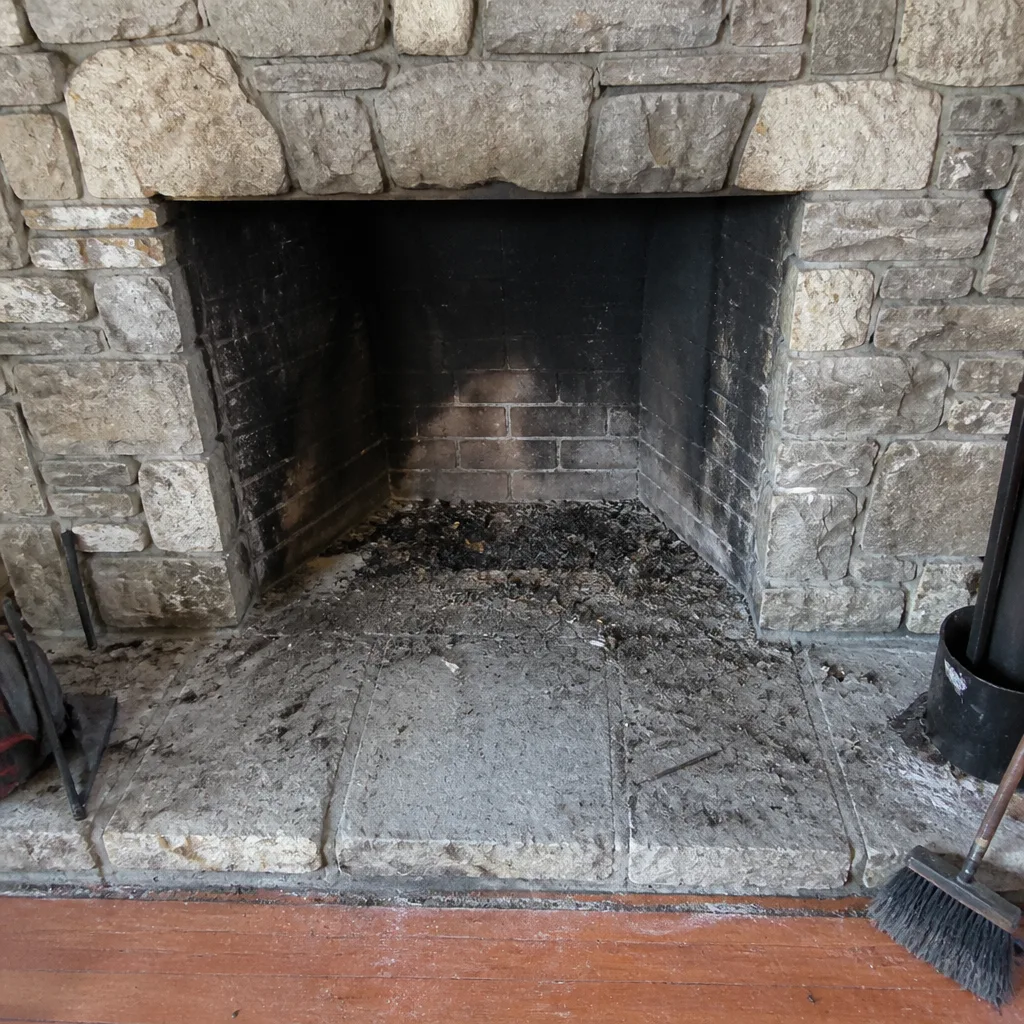 Before
 After
 Before
 After
Frequently Asked Questions
Once a year is the baseline, and that interval is set by what gets burned, not by the calendar. A wood-burning fireplace used heavily through the winter needs an annual sweep. A gas insert used occasionally still needs an annual inspection, even if a full sweep isn’t warranted. Oil-fired heating systems need annual inspection of the venting as part of the appliance service. A homeowner who wants an exact answer for their own chimney should book an inspection and get a report tied to what’s actually there. Call (833) 315-2861 – estimates are free.
A visual check from the firebox cannot see the smoke chamber or the full flue interior. The smoke chamber has a sloped shape that hides deterioration from below, and the damper mechanism above the firebox isn’t fully visible without a camera. Those are the two most commonly missed issues in Providence homes, and they’re the ones most likely to turn into emergency repairs if they aren’t caught early. A camera inspection is the only way to see them. Call (833) 315-2861 to schedule one.
Stage 1 is sooty and flaky and brushes off easily. Stage 2 is hard, shiny and crusted, and needs mechanical removal. Stage 3 is glazed and tar-like and is the most combustible form. The stage determines whether a sweep’s recommendation is routine or urgent; a Stage 1 report is not a cause for alarm, but Stage 2 or Stage 3 is worth addressing before the next fire. Call (833) 315-2861 for an inspection that reports the stage observed.
No, and the reason is safety, not difficulty. The flue is a confined space, Stage 2 and Stage 3 creosote won’t come off with a standard brush, and roof access is the leading cause of homeowner injury during chimney maintenance. A homeowner can and should do the visual checks from the firebox and the ground-level roofline check, but the flue itself belongs to a trained technician. Call (833) 315-2861 to book a sweep.
Yes. A gas insert vents combustion gases just like a wood fireplace, and the venting system can develop blockages, disconnections or deterioration over time. The venting check is part of the annual inspection regardless of what’s burning. Gas inserts retrofitted into older masonry chimneys in Providence are worth inspecting closely, because the connection point between the appliance and the flue is a common failure point. Call (833) 315-2861 for an inspection.
Policies vary and we can’t speak to any individual policy, so the safe answer is to read yours and ask your agent directly. In general, a claim that traces back to a maintenance condition the homeowner was warned about and didn’t address tends to be complicated. A sweep report from before the damage occurred shows the condition was known and managed, which is the protection. Call (833) 315-2861 for an inspection you can use as documentation.
The Bottom Line
The homeowner’s job is observation. The technician’s job is inspection, sweeping and repair. Your chimney checklist should separate the two, cover the conditions that actually show up in Providence (smoke chamber deterioration, damaged dampers, Stage 2 creosote, cracked crowns), and anchor to a late-summer sweep before the heating season starts. Document what you see, understand what creosote stage means, and don’t skip the camera inspection. When it’s time to book, chimney repair and Providence coverage are handled by the same team that does the sweep and the inspection, so you’re not coordinating contractors. Call (833) 315-2861 for a free estimate.
If you’re new to Providence Chimney Cleaning, start with an inspection, not a repair. Nothing is recommended without camera evidence you can see for yourself, and we’ll tell you plainly when work can wait.
Written by the team at Providence Chimney Cleaning.